
In my years as a technical trainer, when I've had to evaluate the experience and practical skills of a professional mechanic, this question was one of my favorites: "Could you explain to me how you perform throttle cable adjustment?"
Most of the answers were similar, accompanied by a smile from the mechanic, who thought, "This is going to be easy," and proceeded with the explanation: first tighten the throttle cable, then the return cable, until both have virtually no play, and when released, the grip automatically returns to its initial position. We then moved to the motorcycle in question, where the technician had to perform the operation. In a couple of minutes, the adjustment was complete, just as described above.
Experience is a degree
What followed was, in many cases, embarrassing, especially for the more experienced riders. They were made to remove the air filter and accelerate fully. To their surprise, the throttle didn't open much more than halfway, so a bike with such an adjustment won't accelerate properly and will never reach its maximum power and speed. What had gone wrong?

Something as simple as the presumption that comes with experience. As we perform an operation many times, always with the same result, our brain tends to believe that each time we perform that operation, the result will be the same. This, which is an ancient survival mechanism, often distances us from the creative state of mind that every mechanic must maintain when repairing, adjusting, or diagnosing a motorcycle component: nothing should be assumed.
The importance of specifications
Generally, the workshop manual is designed to avoid these errors, as long as we commit to following it step by step, without skipping (assuming) any of them.
If we look at the steps required to perform this process on a Harley-Davidson model, for example (although they apply to virtually any motorcycle with a mechanical throttle), we'll see how simple it is and how virtually impossible it is to make the mistake mentioned above.
Let's get to work
1. The first step is to check and properly lubricate the cables. If they are not properly lubricated, they will perform erratically, especially when reducing the throttle.


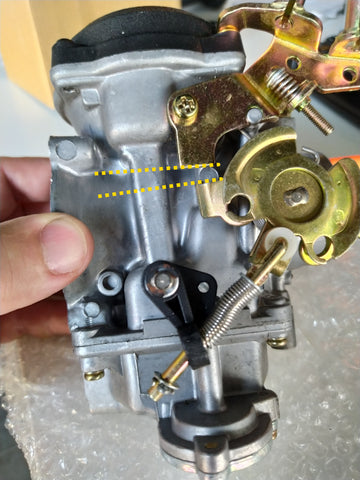
We proceed to tighten the throttle cable lock nut and then, only then, release the throttle grip.
5. In the next step, we turn the handlebar fully to the right and tighten the return cable until the housing lightly touches the spring at its end. We tighten the locking nut.

Conclusions
We can see that it takes just 6 simple steps to properly adjust one of the most important parts of the motorcycle, where the rider directly interacts with the machine's power control.

Step 4 ensures that the maximum opening of the grip will coincide with the maximum opening of the throttle valve, provided, of course, that this is not already the case.
In fact, my recommendation would be to perform this check in step 4 on your own bike. Is it properly adjusted? Bets are being taken…
Frank Burguera
#harleymechanics
1 comment
Gracias por compartir esos detalles tan importante